 Save
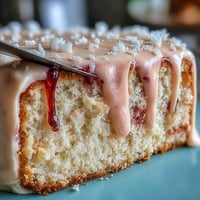
Save The first time I decided to make a geode cake, teal and gold shimmering proudly, it was less about following a recipe and more about letting creativity loose in my tiny kitchen. I remember the gentle hum of my stand mixer and how the smell of vanilla began to fill the air as I creamed the butter and sugar. Each step felt oddly meditative, and as I split the cake into layers, I wondered if I'd ever manage to carve out that iconic geode wedge without crumbling the whole masterpiece. Sometimes flour dusted my sleeves or I caught myself dancing near the oven, anticipation building for the celebrations ahead. Turning rock sugar into crystalline beauty didn’t just feel like decorating a cake—it felt like making a statement.
I made this cake for my cousin's graduation, and there's a snapshot stored in my phone of everyone crowding around, eager to see the first slice. It always surprises me how those moments—nervous smiles, quick knife cuts, layers revealed—turn ordinary recipes into cherished memories. That teal and gold sparkle truly stood out underneath the kitchen lights, like a little celebration in itself. My uncle jokingly suggested that the geode was too beautiful to eat, but that only lasted until the aroma of vanilla coaxed everyone to dig in. By the end of dessert, not a crumb was left, and every photo captured a swirl of laughter and sugar dust.
Ingredients
- All-purpose flour: The backbone of the cake, sifted for light, airy crumb and no lumps.
- Baking powder: Ensures each layer rises evenly—measure with care for a uniform stack.
- Salt: Balances sweetness and brings out all flavors; a tiny pinch makes a big difference.
- Unsalted butter: Use room temperature for easy creaming and richer flavor.
- Granulated sugar: Gives structure and sweetness, and beating it thoroughly with butter creates a fluffy base.
- Large eggs: Room temperature eggs emulsify batter and prevent curdling—set them out early.
- Vanilla extract: The aroma rounds out the cake's flavor profile; don't skimp on real vanilla.
- Whole milk: Plush, moist layers—it helps the batter come together smoothly.
- Powdered sugar: Sift for featherlight buttercream; lumps disappear faster that way.
- Heavy cream or milk: Adjusts buttercream consistency—add it slowly for perfection.
- Teal gel food coloring: Achieves vivid color without thinning frosting; a little goes far.
- Rock sugar crystals: The magic for a geode effect; choose clear or white and color as needed.
- Edible gold leaf or luster dust: Effortlessly turns the cake from fancy to show-stopping, but handle gently.
- Simple syrup: Optional, but brushing layers makes each bite extra moist and flavorful.
Tired of Takeout? 🥡
Get 10 meals you can make faster than delivery arrives. Seriously.
One email. No spam. Unsubscribe anytime.
Instructions
- Mix the Vanilla Batter:
- Grab a big bowl and let flour, baking powder, and salt mingle; meanwhile, cream butter with sugar until fluffy, and beat in eggs one by one so the whole mixture stays silky. Alternately add dry ingredients and milk—watch the batter transform pale and smooth—then divide into cake pans for the oven.
- Bake and Cool:
- The cakes bake until golden and fragrant; you'll know it's ready when a toothpick slides out clean and your kitchen smells amazing. Let them cool first in the pans, then carefully transfer to racks so the layers don’t break.
- Prepare Buttercream:
- Beat butter until creamy-white and pillowy, then slowly add powdered sugar so it stays light, blending in the vanilla and just enough cream to reach a spreadable texture. Tint most of the batch teal, reserving a small portion plain for the crumb coat.
- Color Sugar Crystals:
- Mix rock sugar with teal gel coloring in a bowl, gentle hands required so the color catches without crushing the crystals. Spread on parchment to dry if sticky so they stay sparkly for decorating.
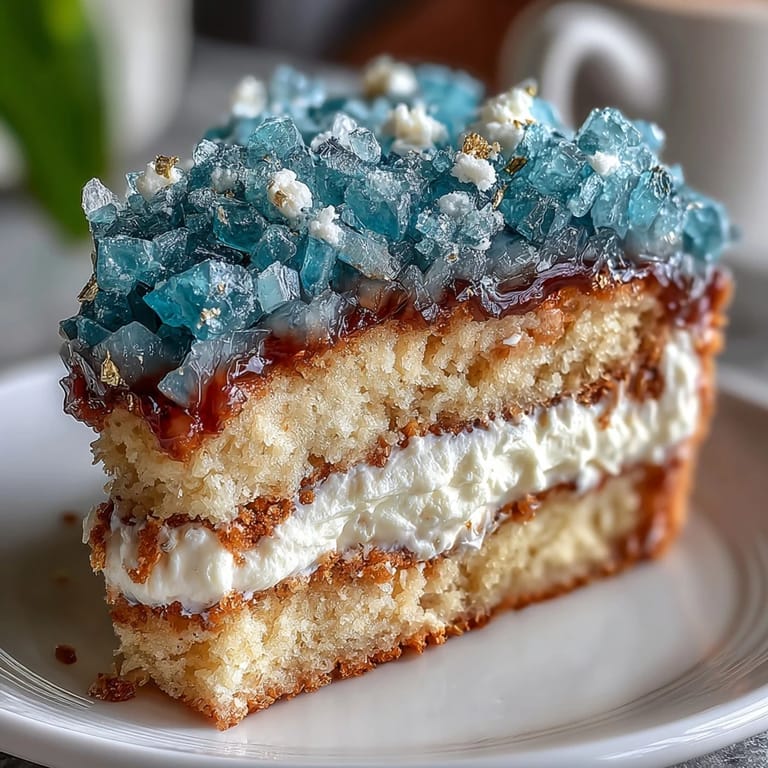
- Level and Stack Layers:
- Trim cakes, brush with simple syrup if you like, and sandwich each layer with buttercream—take your time, it’s worth it. Apply a crumb coat, then chill briefly to set before smoothing teal buttercream over the cake's surface.
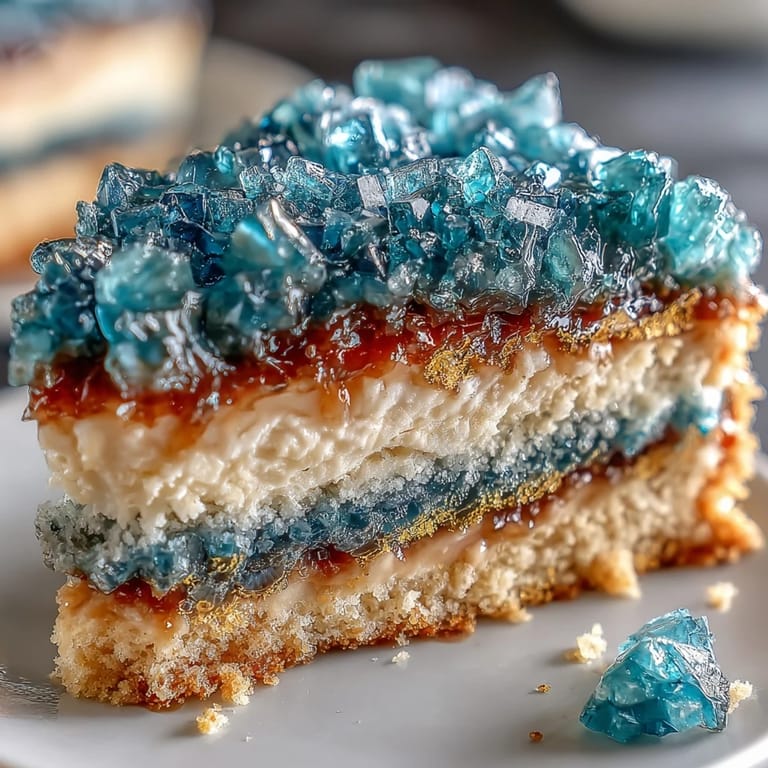
- Carve the Geode Slice:
- With a sharp knife, sculpt a wedge or slice out of the side, aiming for a natural crystal cave. Coat the inside with buttercream and press in colored sugar, layering lighter in the center and deeper on the edges for that dazzling depth.
- Finish with Gold:
- Using a paintbrush, carefully paint or dust the geode edges with gold leaf or luster dust mixed with clear alcohol—it instantly makes the cake pop. Add extra gold accents and a graduation topper if you have one.
 Save
Save That night after the graduation, we watched the sun set through the kitchen window, a little teal cake shimmering on the counter. There’s something about giving a cake this special shape and color—it makes every bite feel just a bit more magical, even after the party winds down.
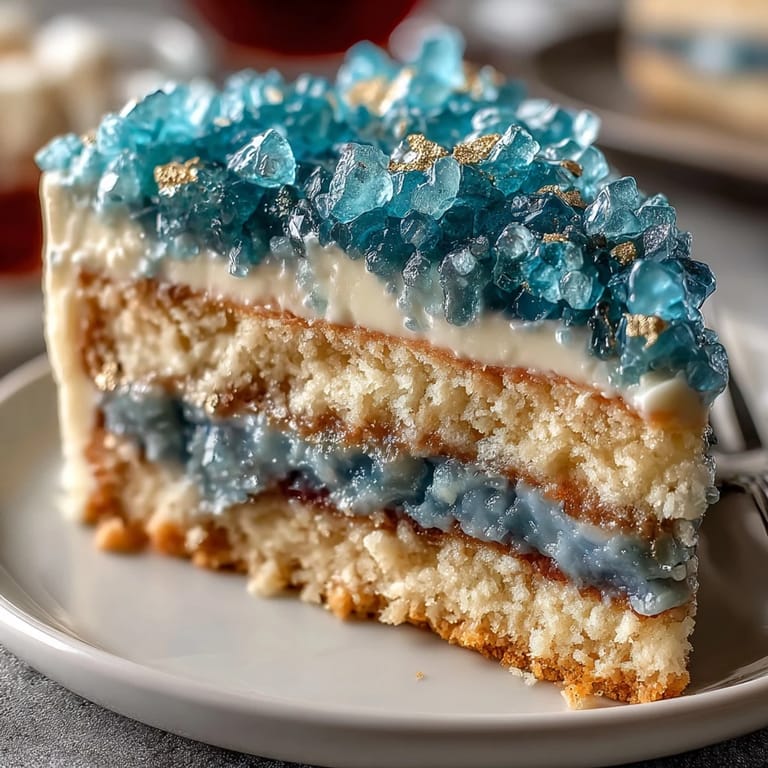
Rock Sugar, Gold, and Graduation Memories
Painting gold onto sugar crystals feels like adding a little extra sparkle that only comes out for special moments. Rock sugar is messy but oh so rewarding—get an extra napkin handy for stray crumbs and glitter. It’s almost impossible not to smile as you press those teal gems in, and the cake becomes a conversation piece before you know it.
Getting That Perfect Teal Shade
Gel coloring is one of those tools I never realized would change my baking until I saw how vivid the teal turned out—no watery streaks, just bold and beautiful. Start slow, mixing in drops and scraping down the bowl to see the real color, and use gloves to avoid turquoise fingers.
Assembly Tips from Practice
Layering this cake is all about steady hands and patience—if anything slides, just set it back right and keep going. Don’t hesitate to chill the assembled cake again if the buttercream gets too soft, and carve the geode wedge in confident strokes rather than timid ones.
- Keep a damp cloth nearby for sticky hands.
- Slice slowly for crisp, clean cake edges.
- Add extra gold touches only after all sugar is in place.
 Save
Save Whether you're marking a milestone or just looking to make dessert unforgettable, this teal and gold geode cake offers beauty and joy in every slice. I hope it brings as much sparkle to your celebrations as it did to ours.
Kitchen Guide
- → How do I achieve the geode effect on the cake?
Carve a wedge out of the cake side, frost with buttercream, and press colored sugar crystals inside. Finish with gold luster dust for realism.
- → Can I customize the cake flavors?
Enhance the vanilla base with lemon or almond extracts for variety. Adjust buttercream flavor as desired.
- → What tools are needed for decorating?
An electric mixer, offset spatula, parchment paper, serrated knife, and food-safe paintbrush are essential for successful decorating.
- → Is the cake suitable for vegetarians?
Yes, the main ingredients include eggs and dairy but exclude animal-based gelatin, making it vegetarian-friendly.
- → How many servings does this cake provide?
With its three layers, the cake yields about 16 servings—a great fit for celebration gatherings.