 Save
Save The first time strawberry season rolled around and I found myself with a bumper crop, I was craving something simple yet special. The idea of these No-Bake Strawberry Cheesecake Jars landed after a friend came by unannounced, arms full of juicy berries. Sunlight warmed the kitchen, and we laughed about improvised desserts in old jam jars—setting the stage for a creamy, tangy treat layered with bright compote and a buttery biscuit base. Making these feels less like a chore and more like a joyful experiment, especially when the air smells faintly of vanilla and lemon. There's a thrill in assembling each jar, knowing that dessert is not only delicious, but pretty enough to serve with pride.
I remember making these jars for a picnic last May, when everyone insisted on eating dessert before the sandwiches. We perched on faded blankets, jars chilling in the cooler, and laughter punctuated every bite as the strawberry sauce stained our fingers. It's the kind of dish you want to bring to gatherings because it's both effortless and a showstopper. Kids kept asking for seconds, spooning out every last crumb. That day, cheesecake jars were the star, and my kitchen felt like a little bakery for a crowd.
Ingredients
- Graham crackers or digestive biscuits: Choose your favorite, but crush them finely for a base that holds together—gluten-free versions work too.
- Unsalted butter: Melted butter binds the biscuit base and adds lovely richness, but always let it cool briefly before mixing.
- Cream cheese: Softened cream cheese lends that signature tang and texture; full fat makes it smooth and indulgent.
- Whipping cream: Cold cream is vital—whip until just fluffy for best volume in your cheesecake layer.
- Powdered sugar: This sweetens without grittiness and helps stabilize the creamy filling.
- Vanilla extract: Use pure vanilla for warmth and depth in the cheesecake layers.
- Lemon zest: Fresh zest brings brightness and cuts through richness beautifully.
- Fresh strawberries: Opt for the ripest you can find—hulled and chopped for compote, whole for garnish.
- Sugar: Essential for balancing the tartness of berries and enriching the compote.
- Lemon juice: Just a splash sharpens the berry flavor and lets the compote shine.
- Fresh mint leaves: Optional but lovely for garnish—adds a subtle, fresh aroma.
Tired of Takeout? 🥡
Get 10 meals you can make faster than delivery arrives. Seriously.
One email. No spam. Unsubscribe anytime.
Instructions
- Build your biscuit base:
- Tumble the crushed biscuits into a mixing bowl as crumbs scatter and add melted butter, stirring until it feels like damp sand. Spoon into jars and use a small spoon or the back of your hand to press each base, creating a smooth, compact layer.
- Mix the cheesecake filling:
- Beat softened cream cheese, powdered sugar, vanilla extract, and lemon zest together—listen for the muffled whirr and watch for a silky finish. In a separate bowl, whip cold cream to pillowy soft peaks, then gently fold it into the cream cheese mixture until no streaks remain.
- Layer and chill:
- Dollop the creamy mixture over each biscuit base, smoothing with a spoon so it becomes an even cloud. Pop the jars into the refrigerator for at least 2 hours—patience pays off as the layers set to perfection.
- Cook the strawberry compote:
- Combine strawberries, sugar, and lemon juice in a saucepan, stirring as the fruit softens and bubbles. Keep watch so it doesn't scorch, and pull it off the heat when the sauce begins to thicken; let cool completely.
- Finish and garnish:
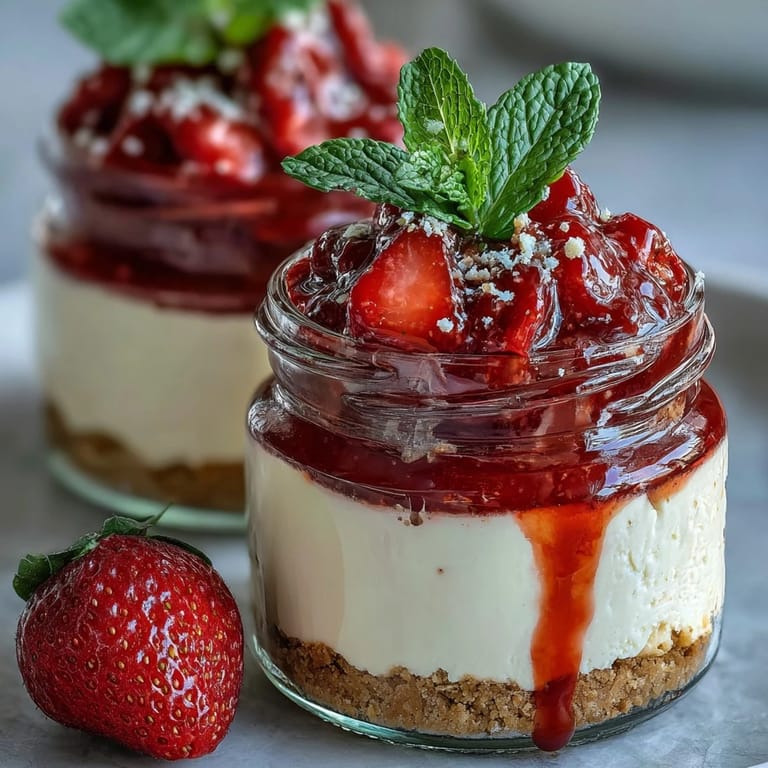
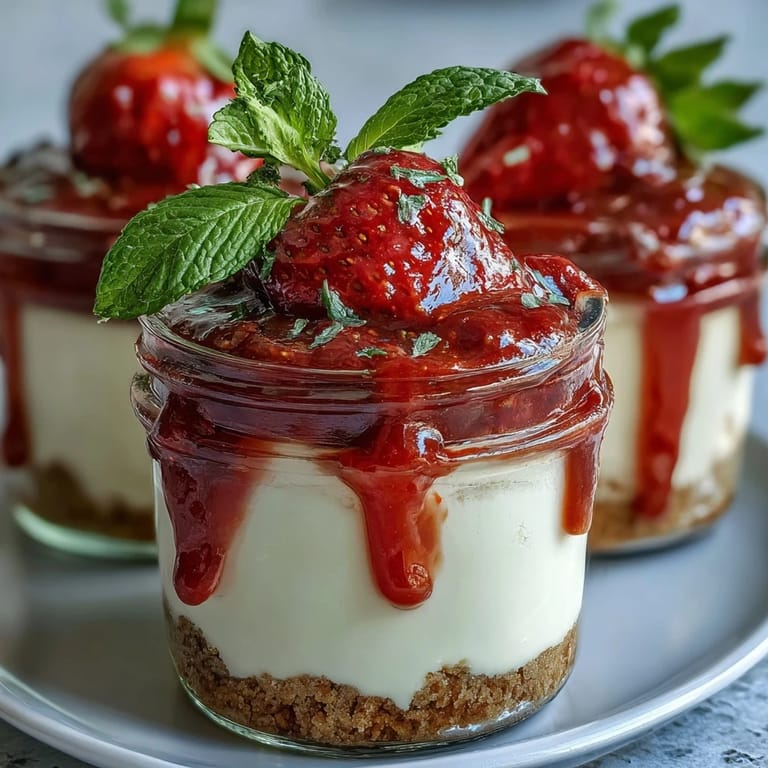
- Spoon cooled compote atop the cheesecake, then nestle a whole strawberry and mint leaf on each for a little flourish. Serve chilled, and enjoy that contrast between creamy, crumbly, and fruity goodness.
 Save
Save There was a rainy spring afternoon when I shared these with my sister, and the jars became a centerpiece for long talks at our cluttered table. After all the careful layering and quick garnishing, it felt like we had created summer in glass—turning a dreary day bright with flavor and laughter.
Choosing Your Biscuit Base
After trying both graham crackers and digestive biscuits, I noticed how the subtle sweetness of digestives lets the strawberries shine more. Mixing by hand avoids over-crushing, so the base doesn’t turn dusty. If you prefer a slightly salty edge, add a pinch of salt to the butter before mixing; it creates a delicious counterpoint to the creamy filling. Gluten-free biscuits crumble a bit more easily, so gently press them in the jar and let them set longer. The results always surprise me with their texture and flavor.
Perfecting the Cheesecake Layer
Getting the cream cheese to room temperature is key—it avoids lumpy filling. Sometimes I whisk with a hand mixer, sometimes I just use a spoon, and both methods work as long as the cream is fresh and cold. Whipping the cream separately may feel fussy, but it’s what makes the filling airy. Don’t forget the lemon zest; it seems simple but elevates the whole jar. Even after years of trying fancier recipes, this layer remains my go-to for ease and taste.
Making Strawberry Compote Like a Pro
The compote’s aroma as it bubbles is a clear signal of sweetness, and if strawberries are peak season, you might need less sugar. Watching the texture shift from loose to glossy is my favorite moment—don’t overcook or it’ll set too firm. Taste as you go to check for tartness, since lemon juice makes a difference. Each batch feels unique and rewarding.
- Let the compote cool fully before layering it over the cheesecake.
- Reserve a few berries for garnish right at the end.
- Assemble just before serving if you want the crispness of the base to last.
 Save
Save Share these cheesecake jars with someone you love, or just savor them solo—they turn any day into a small celebration. Every spoonful brings a burst of strawberry and creamy goodness, making dessert feel effortless and fun.
Kitchen Guide
- → How do I create the biscuit base?
Mix crushed biscuits with melted butter until sandy. Press into jar bottoms to form a compact layer.
- → Can I substitute other berries for the compote?
Yes, raspberries or blueberries work well in place of strawberries for the compote layer.
- → How long should I chill the jars before serving?
Chill the prepared jars for at least 2 hours to set the creamy layer fully.
- → What makes these jars vegetarian?
The dessert uses only dairy and plant-based ingredients, with no gelatin or meat-derived products.
- → Can I prepare the jars in advance?
The jars can be made up to 24 hours ahead, allowing flavors to meld and making them ideal for gatherings.
- → How do I make a gluten-free version?
Use certified gluten-free biscuits for the base to accommodate dietary preferences.