 Save
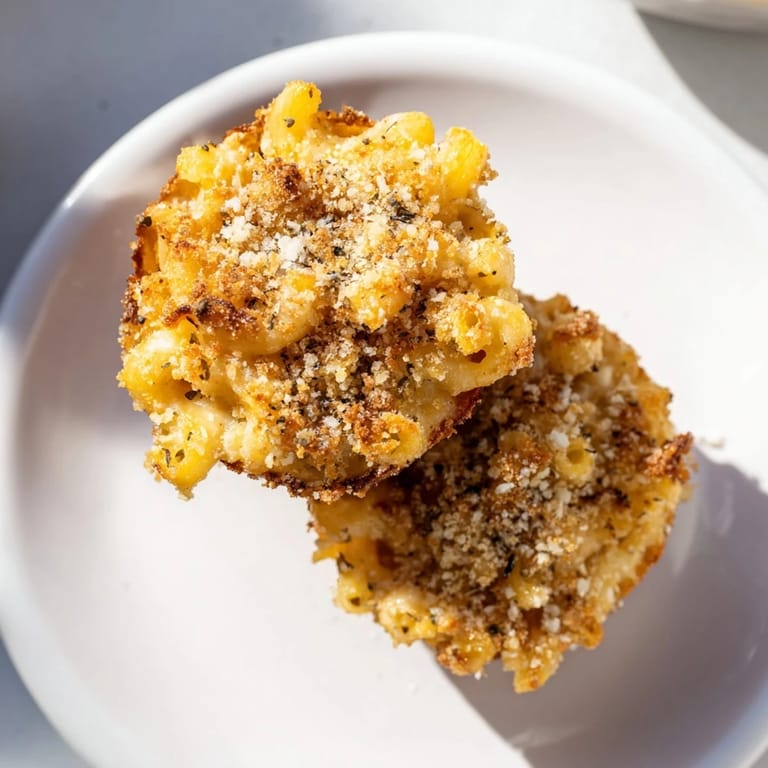
Save I discovered these little muffins by accident one Tuesday afternoon when I had leftover mac and cheese and a muffin tin staring at me from the cabinet. Instead of reheating in a bowl like always, I thought: what if I could eat this with my hands? Twenty minutes later, I had golden-topped bites that somehow tasted even better than the original, with a crispy shell giving way to creamy cheese and tender pasta. Now I make them deliberately, and they've become the thing people ask me to bring to potlucks.
I remember my nephew's soccer game day when I packed these instead of sandwiches, worried they'd seem strange. He opened his lunchbox at halftime and didn't share a single one with his teammates—he just kept eating and grinning. His coach asked for the recipe. That's when I knew I'd stumbled onto something.
Ingredients
- Elbow macaroni (200 g): The small shape holds sauce beautifully and fits perfectly in muffin cups; cook it slightly underdone so it stays tender after baking.
- Unsalted butter (2 tbsp for sauce): The base of your roux, so don't rush melting it—medium heat prevents browning and keeps your sauce silky.
- All-purpose flour (2 tbsp): This thickens the milk into that creamy sauce; whisking it in without lumps is the difference between velvet and gritty.
- Whole milk (240 ml): Full-fat milk creates richness that skim can't touch, and it prevents the sauce from breaking when cheese melts into it.
- Sharp cheddar cheese (100 g): The star ingredient with actual flavor; mild cheddar tastes like disappointment by comparison.
- Mozzarella cheese (40 g): Adds stretchiness and helps bind everything together without overpowering the cheddar.
- Parmesan cheese (40 g for sauce plus 2 tbsp for topping): A little goes a long way here; it brings a salty, complex note that deepens the entire dish.
- Dijon mustard (½ tsp): Trust this ingredient even though you won't taste it directly—it amplifies the cheese flavors in a way nothing else can.
- Garlic and onion powder (¼ tsp each): These quiet seasonings prevent the dish from tasting one-dimensional and flat.
- Panko breadcrumbs (50 g): Coarser than regular breadcrumbs, they stay crispy and give you those satisfying bite-through moments.
- Melted butter (1 tbsp for topping): This is what makes the panko golden instead of pale; don't skip it thinking the cheese will do the work.
Tired of Takeout? 🥡
Get 10 meals you can make faster than delivery arrives. Seriously.
One email. No spam. Unsubscribe anytime.
Instructions
- Set the stage:
- Preheat your oven to 200°C (400°F) and grease a 12-cup muffin tin generously—these stick if you're not careful. Getting this done first means no scrambling later when your hands are full of hot pasta.
- Cook the pasta smart:
- Boil salted water and add your elbow macaroni, but pull it out about one minute before the package says it's done. It'll finish cooking in the oven, and you want it tender, not mushy when you bite into the finished muffin.
- Build the roux foundation:
- Melt butter in a saucepan over medium heat, then add flour and stir for exactly one minute—this cooks out the raw flour taste. You'll smell when it shifts from floury to toasted, which is your signal to move forward.
- Create the sauce base:
- Pour in milk slowly while whisking constantly; if you dump it all at once, lumps form and you'll spend ten minutes trying to fish them out. Within 3-4 minutes, it thickens into something that coats the back of a spoon.
- Melt in the cheese blend:
- Remove from heat before adding cheese—if the pan's still hot, the cheese can separate and turn greasy instead of creamy. Add the three cheeses along with mustard and spices, stirring until everything disappears into silken sauce.
- Combine and fill:
- Toss the drained pasta with the cheese sauce until every piece is coated, then divide evenly among muffin cups, pressing gently so they're well packed. Overstuffing leads to spills; underfilling gives you less to enjoy.
- Top and bake:
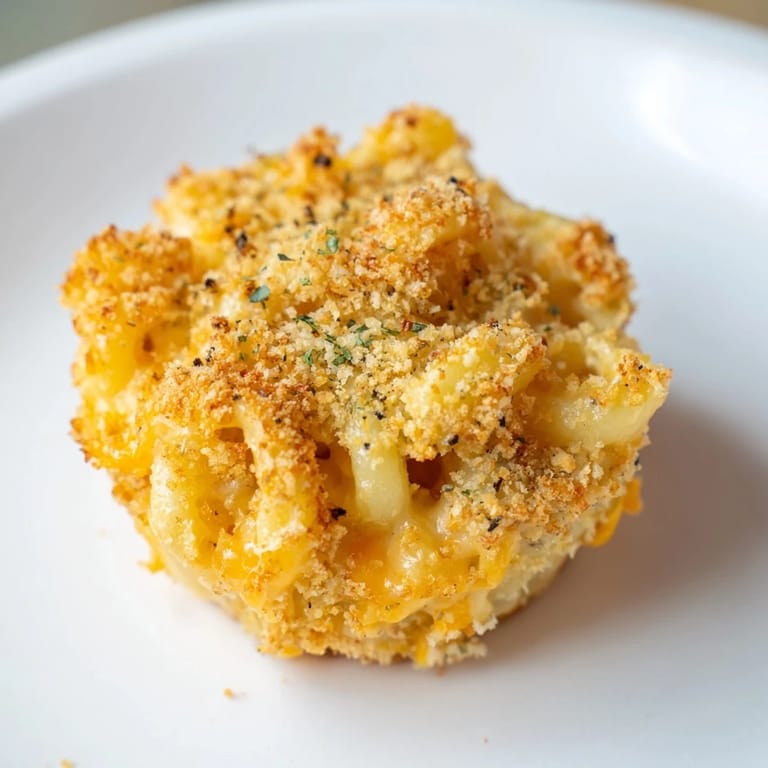
- Mix panko, melted butter, and Parmesan in a bowl, then sprinkle generously over each cup—this is where the magic happens. Bake for 15-18 minutes until the tops turn deep golden and you can smell the nutty toasted aroma.
- Release and serve:
- Let them cool for five minutes so they set up slightly, then run a knife around each edge and lift them free. Finish with fresh parsley if you want a pop of green.
 Save
Save My proudest moment came when my sister served these at her book club and three different people asked if I'd made them professionally. She didn't correct them—she just let me be the hero for an afternoon. That's when I realized these weren't just clever leftovers anymore; they were something people genuinely wanted to eat.
Why the Muffin Tin Matters
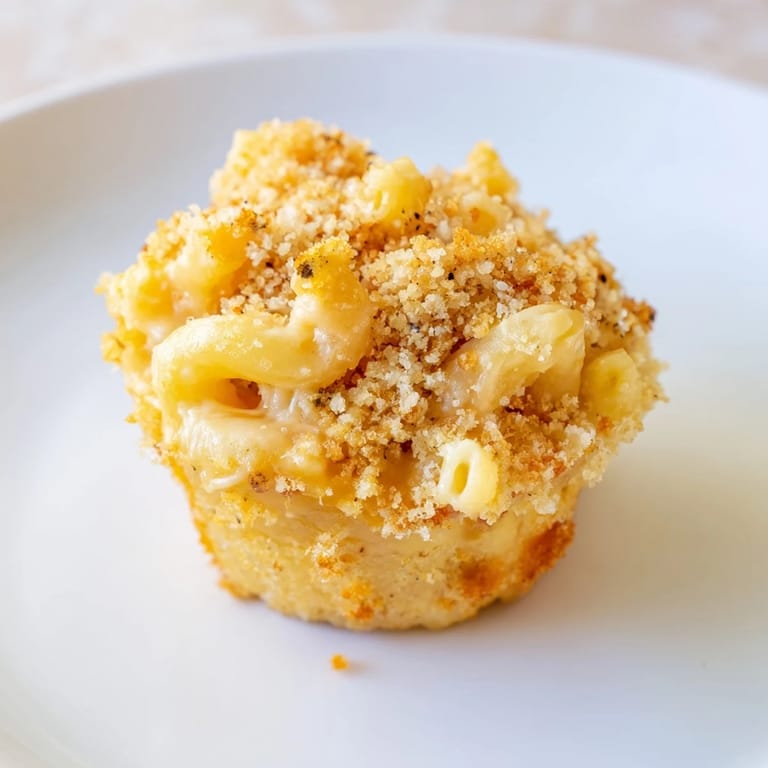
Using a muffin tin instead of a baking dish changes everything about this dish. Each cup becomes its own little oven chamber, creating edges that get crispy while the center stays creamy and soft. The shape also means you get a higher ratio of crunchy topping to filling, which is honestly the entire appeal.
Make-Ahead and Storage Wisdom
You can assemble these completely and refrigerate them overnight before baking—just add a few extra minutes to the baking time since they're cold. Leftover muffins keep for three days in an airtight container, and reheating them in a 180°C oven for ten minutes brings back the crispy topping better than microwaving ever could.
Flavor Variations That Work
Once you've made the basic version, the door opens to endless possibilities without losing what makes this dish special. A pinch of smoked paprika transforms it into something almost smoky and complex, while swapping the cheddar for Gruyère makes it feel elegant and restaurant-worthy. Crumbled cooked bacon stirred into the pasta, a dash of hot sauce mixed into the cheese sauce, or even a sprinkle of crispy onions instead of panko all feel natural and delicious.
- Add smoked paprika to the cheese sauce for subtle depth that guests won't identify but will definitely taste.
- Stir in crispy bacon, sautéed mushrooms, or steamed broccoli to add substance and change the flavor profile entirely.
- Use different cheeses like Gruyère, Fontina, or even a good Brie to see how each one shifts the entire experience.
 Save
Save These little muffins have become my answer to almost every gathering—they travel well, taste good hot or room temperature, and somehow make everything feel a little more special. Once you've made them, you'll understand why they disappeared so fast from that soccer game lunchbox.
Kitchen Guide
- → What type of pasta works best for these muffins?
Elbow macaroni is ideal for its small size and ability to hold the cheese sauce well in each muffin cup.
- → Can I use different cheeses in the sauce?
Yes, swapping cheddar with Gruyère or Monterey Jack adds unique flavor variations while maintaining creaminess.
- → How do I achieve a crispy topping?
Mix panko breadcrumbs with melted butter and Parmesan before sprinkling on top, then bake until golden brown.
- → Is it possible to prepare these ahead of time?
Absolutely. Bake in advance and reheat at 180°C (350°F) for about 10 minutes for a fresh-tasting snack.
- → Can these muffins be frozen?
Yes, after cooling completely, freeze in an airtight container and thaw before reheating in the oven for best texture.
- → What gives the cheese sauce its smooth texture?
A roux made from butter and flour thickens the milk before adding cheeses, ensuring a creamy, smooth sauce.