 Save
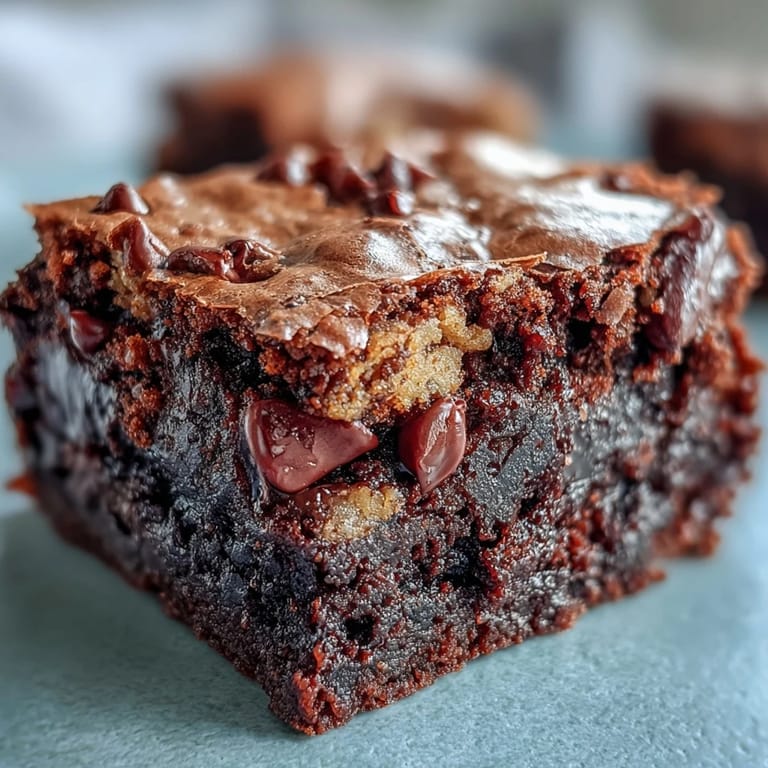
Save I discovered hojicha brookies on a quiet Tuesday afternoon while scrolling through a Japanese pastry blog, and something about that combination of roasted tea with fudgy brownie and crisp cookie just clicked. The next day, I found myself standing in front of my pantry with a bag of hojicha powder, wondering if I was brave enough to actually pull it off. One batch later, my kitchen smelled like a cozy tea house mixed with a chocolate factory, and I knew I'd stumbled onto something special.
I brought these to a friend's dinner party last month, nervous about how people would react to something so unconventional, and watched someone take a second piece before finishing their first. That moment when she closed her eyes and said, 'What even is this and why isn't it in every bakery,' made every careful measurement worth it.
Ingredients
- Unsalted butter: Use good quality butter for both layers because it's the backbone of flavor, and keeping it separate for each component lets you control the texture differently.
- Bittersweet chocolate, chopped: Chopping it yourself instead of using chips helps it melt more evenly and creates a silkier brownie layer.
- Granulated and light brown sugar: The combination creates that perfect fudgy-yet-structured crumb that doesn't collapse when you bite into it.
- Large eggs: Room temperature eggs incorporate better and help bind everything together without streaking.
- Vanilla extract: Just a touch bridges the hojicha flavor and the chocolate without making it taste like a vanilla cake.
- All-purpose flour: Sifting it keeps the layers tender and prevents that dense, over-mixed texture.
- Hojicha powder: This roasted green tea is the star, with that nutty, toasty character that feels both familiar and surprising in dessert.
- Salt: A quarter teaspoon in each layer enhances all the other flavors and cuts through richness beautifully.
- Softened butter for the cookie layer: It needs to be soft enough to cream properly, giving you that light, fluffy base.
- Egg yolk only: The yolk adds richness without the extra moisture that whole eggs would bring to the cookie layer.
- Baking soda: Just a pinch helps the cookie layer spread slightly and brown evenly on top.
- Chocolate chips: Dark or milk, these add pockets of melted chocolate that surprise you in every bite.
Tired of Takeout? 🥡
Get 10 meals you can make faster than delivery arrives. Seriously.
One email. No spam. Unsubscribe anytime.
Instructions
- Set up your station:
- Preheat your oven to 175°C (350°F) and line your 20x20 cm baking pan with parchment paper, making sure it hangs over the edges so you can lift everything out cleanly later. Having everything ready before you start mixing is the one thing that makes this go smoothly.
- Melt and marry the chocolate:
- Create a double boiler by placing a heatproof bowl over simmering water, then add your chopped butter and chocolate together, stirring slowly until everything is silky and smooth. This gentle melting prevents the chocolate from seizing and keeps it glossy.
- Build the brownie soul:
- Whisk both sugars into your melted chocolate mixture, then add your room temperature eggs and vanilla, stirring until it looks glossy and ribbony. The key is patience here, letting the mixture come together rather than forcing it.
- Fold in the dry goods:
- Sift your flour, hojicha powder, and salt together, then fold everything into the wet mixture with a spatula in three additions, being gentle and stopping as soon as you don't see any dry streaks. Over-mixing at this stage creates a dense, cakey brownie instead of that fudgy dream you want.
- Spread and set:
- Pour this brownie batter evenly into your prepared pan, using an offset spatula or the back of a spoon to smooth it out. You want it fairly level because the cookie layer goes on top and needs a stable base.
- Cream the cookie base:
- In a separate bowl, beat your softened butter with both sugars until it's light, fluffy, and noticeably paler, which takes about two to three minutes with an electric mixer or three times that if you're doing it by hand. This aeration is what gives the cookie layer its tender crumb.
- Bring the cookie layer together:
- Mix in your egg yolk and vanilla, then sift in flour, hojicha powder, baking soda, and salt, stirring gently until just combined. Fold in your chocolate chips carefully so they're distributed throughout but not crushed.
- Layer and spoon:
- Using a spoon, dollop the cookie dough all over the brownie layer, leaving some small gaps because they'll close up as things bake and you want that brookie texture throughout. It doesn't have to be perfect or fully covered, which honestly takes the stress out of this step.
- Bake to golden perfection:
- Slide everything into your preheated oven for 23 to 27 minutes, watching until the cookie top turns golden brown but still looks slightly underbaked in the very center. A toothpick inserted there should come out with a few moist crumbs clinging to it, not clean and not wet.
- Cool with patience:
- Let the entire pan cool completely at room temperature on a wire rack, which takes about an hour but is absolutely worth it. Cutting into warm brookies falls apart, but once cooled, they hold their shape perfectly.
- Lift and cut:
- Once cool, grasp that parchment paper overhang and carefully lift the entire slab out of the pan onto a cutting board. Use a sharp knife, wiping it clean between cuts, to slice the whole thing into 12 even squares.
 Save
Save I made a batch of these one evening when I was stressed about something completely unrelated, and the ritual of measuring, melting, and folding just unwound everything. By the time I pulled them out of the oven, whatever was bothering me seemed smaller, replaced by the simple satisfaction of something beautiful you made with your own hands.
The Hojicha Magic
Hojicha is roasted green tea, which means it has none of the grassy sharpness you might expect from tea in desserts. Instead, it tastes nutty, warm, almost like toasted grain, which is why it plays so beautifully with chocolate instead of competing with it. The first time I tasted it in a traditional tea drink, I immediately thought about how it would work in baking, and brookies became the obvious canvas.
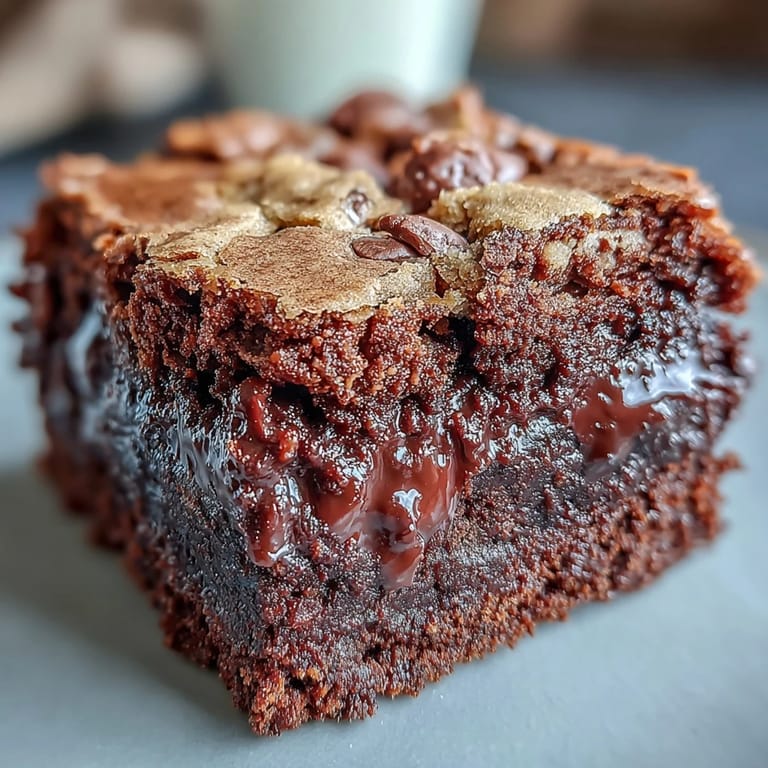
Why This Texture Works
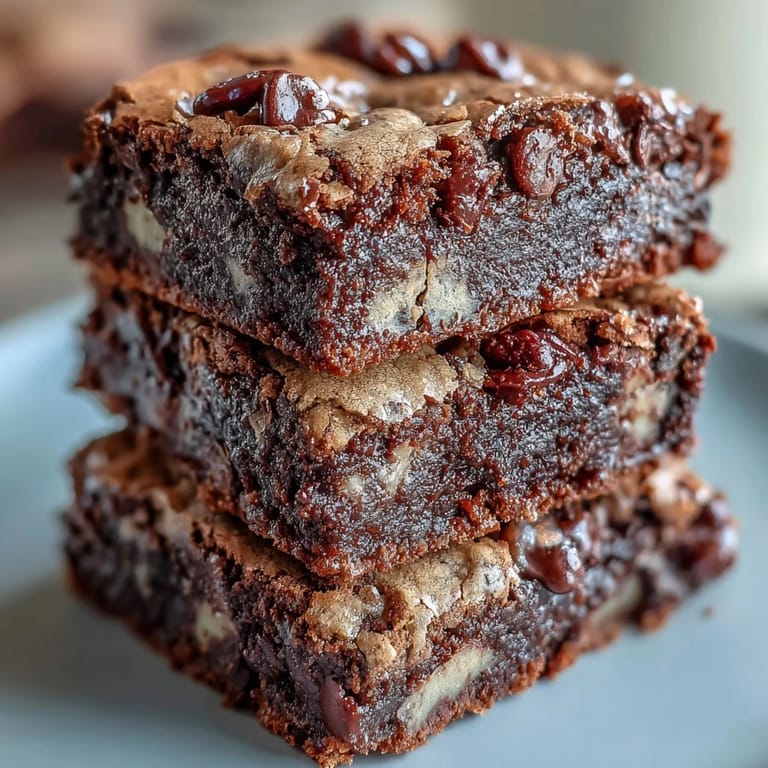
Brookies exist in this perfect middle ground where you get the fudgy indulgence of a brownie with the texture satisfaction of a cookie, and hojicha somehow makes both layers taste more like themselves. The roasted tea grounds everything, preventing the sweetness from becoming cloying, while the chocolate fills in all the warmth and richness. It's a surprisingly balanced dessert that tastes far more complex than the ingredient list suggests.
Storage and Serving Wisdom
These keep beautifully in an airtight container at room temperature for up to three days, though I've never had them last that long. Serving them slightly warm with vanilla ice cream creates this almost tea-house experience, where the melting ice cream runs into the fudgy center.
- If you want a stronger hojicha flavor, add an extra half tablespoon of powder to either or both layers, though start with the recipe as written first.
- You can swap the hojicha for matcha powder for a brighter, grassier flavor, or use cocoa powder for a more traditional brownie-cookie hybrid.
- These travel well wrapped individually, making them perfect for lunch boxes, picnics, or gifting to people you want to impress.
 Save
Save Every time I make these, I'm reminded that the best desserts are the ones that make people pause mid-conversation and ask what they're eating. These hojicha brookies do exactly that.
Kitchen Guide
- → What does hojicha taste like?
Hojicha has a distinctive toasty, nutty flavor with low astringency and subtle caramel notes. Unlike other green teas, it's roasted over charcoal, giving it a warm, earthy profile that pairs beautifully with chocolate.
- → Can I substitute hojicha powder?
Matcha powder works for a vibrant green color and grassy notes, while cocoa powder creates a chocolate-forward version. Adjust quantities to taste—matcha is more potent than hojicha.
- → How do I know when they're done baking?
The cookie top should be golden brown, and a toothpick inserted in the center comes out with moist crumbs—wet batter means they need more time, while completely clean suggests overbaking.
- → Why is there a gap between cookie dough spoonfuls?
Leaving small gaps allows the brownie layer to rise through while baking, creating marbled swirls and ensuring both layers bake evenly without the cookie layer sinking too much.
- → Can I make these ahead?
Yes—they store airtight at room temperature for 3 days and actually develop deeper flavor overnight. The texture also becomes more fudgy after resting. Warm slightly before serving for the best experience.
- → What's the best way to cut clean squares?
Cool completely in the pan, then lift out using the parchment overhang. Use a sharp knife wiped clean between cuts, or chill for 30 minutes for extra clean edges.